RemoteIoT VPC SSH Raspberry Pi Free: The Ultimate Guide To Secure And Efficient Remote Access
RemoteIoT VPC SSH Raspberry Pi Free is a topic that has gained significant traction among tech enthusiasts, developers, and IoT professionals. The ability to securely access and manage Raspberry Pi devices remotely is a game-changer, especially in today's interconnected world. Whether you're managing IoT devices, running home automation projects, or deploying edge computing solutions, understanding how to leverage RemoteIoT's Virtual Private Cloud (VPC) and SSH capabilities is essential.
RemoteIoT provides a robust platform for managing remote devices through its VPC and SSH features. This allows users to connect to their Raspberry Pi devices securely, without the need for complex configurations or costly infrastructure. The platform's free tier offers an excellent starting point for individuals and small teams looking to explore the potential of remote device management.
In this comprehensive guide, we will delve into the intricacies of RemoteIoT VPC SSH Raspberry Pi Free. We will cover everything from the basics of setting up your Raspberry Pi to advanced configurations and troubleshooting tips. By the end of this article, you will have a clear understanding of how to maximize the benefits of RemoteIoT's free offering while ensuring security and efficiency in your remote access setup.
Read also:Molly Noblitt A Rising Star In The Entertainment Industry
Table of Contents
- What is RemoteIoT VPC SSH?
- Benefits of Using RemoteIoT for Raspberry Pi
- Setting Up Your Raspberry Pi for Remote Access
- Configuring RemoteIoT VPC for SSH Access
- Step-by-Step Guide to Connect via SSH
- Security Best Practices for RemoteIoT VPC SSH
- Troubleshooting Common Issues
- Advanced Configurations and Customizations
- Understanding Free Tier Limitations
- Conclusion and Next Steps
What is RemoteIoT VPC SSH?
RemoteIoT VPC SSH is a feature offered by RemoteIoT that allows users to establish secure shell (SSH) connections to their devices via a Virtual Private Cloud (VPC). This ensures that all communication between your local machine and the remote Raspberry Pi is encrypted and secure, protecting sensitive data from unauthorized access.
How Does RemoteIoT VPC SSH Work?
The RemoteIoT platform creates a private network environment where your Raspberry Pi devices can be accessed securely. By leveraging SSH, users can execute commands, transfer files, and manage their devices remotely without exposing them to the public internet. This is particularly useful for IoT deployments where devices are distributed across multiple locations.
Key Features of RemoteIoT VPC SSH
- End-to-end encryption for secure communication.
- Easy integration with Raspberry Pi devices.
- Zero-configuration setup for beginners.
- Support for multiple devices under a single account.
Benefits of Using RemoteIoT for Raspberry Pi
RemoteIoT offers numerous advantages for Raspberry Pi users, particularly when it comes to remote access and management. Below are some of the key benefits:
1. Enhanced Security
With RemoteIoT's VPC SSH, your Raspberry Pi devices are protected from external threats. The platform uses advanced encryption protocols to ensure that all data transmitted between devices is secure.
2. Cost-Effective Solution
The free tier of RemoteIoT provides essential features without any cost, making it an ideal choice for hobbyists, students, and small-scale projects. Even as your needs grow, the platform offers scalable pricing plans.
3. User-Friendly Interface
RemoteIoT's intuitive dashboard makes it easy for users of all skill levels to manage their devices. From setting up SSH connections to monitoring device activity, the platform simplifies complex tasks.
Read also:Understanding The Imskirby Dog Incident A Deep Dive Into The Controversy
4. Global Accessibility
Whether you're at home, in the office, or traveling, RemoteIoT allows you to access your Raspberry Pi devices from anywhere in the world. This is particularly useful for IoT projects that require constant monitoring and updates.
Setting Up Your Raspberry Pi for Remote Access
Before you can start using RemoteIoT VPC SSH, you need to prepare your Raspberry Pi device. Follow these steps to ensure your device is ready for remote access:
Step 1: Install the Latest Raspberry Pi OS
Begin by downloading and installing the latest version of Raspberry Pi OS from the official website. This ensures that your device has the latest security patches and features.
Step 2: Enable SSH on Your Raspberry Pi
To enable SSH, open the Raspberry Pi configuration menu and navigate to the "Interfaces" tab. Toggle the SSH option to "Enabled." Alternatively, you can create an empty file named "ssh" in the boot directory of your Raspberry Pi's SD card.
Step 3: Connect Your Raspberry Pi to the Internet
Ensure that your Raspberry Pi is connected to a stable internet connection. This can be achieved via Wi-Fi or Ethernet, depending on your setup.
Step 4: Update and Upgrade Your System
Run the following commands in the terminal to update your system:
sudo apt update sudo apt upgradeThis ensures that all software packages are up-to-date.
Configuring RemoteIoT VPC for SSH Access
Once your Raspberry Pi is set up, the next step is to configure RemoteIoT VPC for SSH access. Follow these instructions to get started:
Step 1: Create a RemoteIoT Account
Visit the RemoteIoT website and sign up for a free account. During the registration process, you will be asked to provide basic information and verify your email address.
Step 2: Add Your Raspberry Pi to the RemoteIoT Dashboard
Log in to your RemoteIoT account and navigate to the "Devices" section. Click on "Add Device" and follow the on-screen instructions to register your Raspberry Pi.
Step 3: Generate SSH Keys
For secure access, generate SSH keys on your local machine using the following command:
ssh-keygen -t rsa -b 4096Upload the public key to your RemoteIoT dashboard under the device settings.
Step 4: Test the SSH Connection
Use the following command to test the SSH connection to your Raspberry Pi:
ssh pi@your-device-ipIf everything is configured correctly, you should be able to access your device remotely.
Step-by-Step Guide to Connect via SSH
Connecting to your Raspberry Pi via SSH using RemoteIoT VPC is straightforward. Below is a detailed guide to help you establish a secure connection:
Step 1: Open Your Terminal
Launch the terminal application on your local machine. This can be done on Windows, macOS, or Linux systems.
Step 2: Enter the SSH Command
Type the following command, replacing "your-device-ip" with the actual IP address of your Raspberry Pi:
ssh pi@your-device-ipPress Enter to initiate the connection.
Step 3: Authenticate the Connection
If this is your first time connecting to the device, you may be prompted to confirm the authenticity of the host. Type "yes" and press Enter to proceed.
Step 4: Enter Your Password
If you haven't set up SSH keys, you will be asked to enter the password for the "pi" user. By default, this is "raspberry," but it's recommended to change it for security reasons.
Step 5: Execute Commands
Once connected, you can execute commands on your Raspberry Pi as if you were physically present. For example, you can update the system, install software, or manage files.
Security Best Practices for RemoteIoT VPC SSH
While RemoteIoT provides a secure environment for remote access, it's essential to follow best practices to further enhance security:
1. Use Strong Passwords
Avoid using default passwords like "raspberry." Instead, create a strong, unique password for your Raspberry Pi user account.
2. Enable Two-Factor Authentication
If supported by RemoteIoT, enable two-factor authentication (2FA) for an additional layer of security.
3. Regularly Update Your System
Keep your Raspberry Pi's operating system and software up-to-date to protect against vulnerabilities.
4. Monitor Device Activity
Use RemoteIoT's dashboard to monitor device activity and detect any suspicious behavior.
Troubleshooting Common Issues
While setting up and using RemoteIoT VPC SSH, you may encounter some common issues. Here are a few troubleshooting tips:
Issue: Unable to Connect via SSH
Possible causes include incorrect IP addresses, disabled SSH, or firewall restrictions. Double-check your settings and ensure that SSH is enabled on your Raspberry Pi.
Issue: Slow Connection Speed
This could be due to network congestion or high latency. Try connecting during off-peak hours or use a wired Ethernet connection for better performance.
Issue: Permission Denied Errors
Ensure that your SSH keys are correctly configured and that you have the necessary permissions to access the device.
Advanced Configurations and Customizations
For users looking to take their RemoteIoT VPC SSH setup to the next level, here are some advanced configurations:
1. Port Forwarding
Set up port forwarding to access additional services running on your Raspberry Pi, such as web servers or databases.
2. Custom SSH Configurations
Edit the SSH configuration file ("/etc/ssh/sshd_config") to customize settings like port numbers, authentication methods, and more.
3. Automating Tasks with Scripts
Create shell scripts to automate repetitive tasks, such as backups or system updates, and schedule them using cron jobs.
Understanding Free Tier Limitations
While RemoteIoT's free tier offers many benefits, it does come with certain limitations. These include:
1. Device Limits
The free tier may restrict the number of devices you can add to your account.
2. Bandwidth Restrictions
There may be limits on the amount of data you can transfer per month.
3. Feature Restrictions
Some advanced features, such as custom domain support or priority support, may only be available in paid plans.
Conclusion and Next Steps
In this guide, we have explored the ins and outs of RemoteIoT VPC SSH Raspberry Pi Free. From setting up your Raspberry Pi to configuring secure SSH connections, we have covered everything you need to know to get started with remote device management.
RemoteIoT offers a powerful and user-friendly platform that simplifies the process of accessing and managing Raspberry Pi devices remotely. By following the steps outlined in this article, you can ensure a secure and efficient setup while taking full advantage of the free tier's capabilities.
We encourage you to experiment with the platform and explore its advanced features. If you have any questions or need further assistance, feel free to leave a comment below or reach out to RemoteIoT's support team. Don't forget to share this article with others who might find it helpful and check out our other guides for more tips and tutorials!
Somali Wasmo: Exploring The Rich Cultural Heritage Of Somali Folklore
Baby Alien Fan Bus: The Ultimate Guide To The Viral Phenomenon
Jonathan Stoddard Wife Taylor Watson: A Deep Dive Into Their Love Story And Life Together
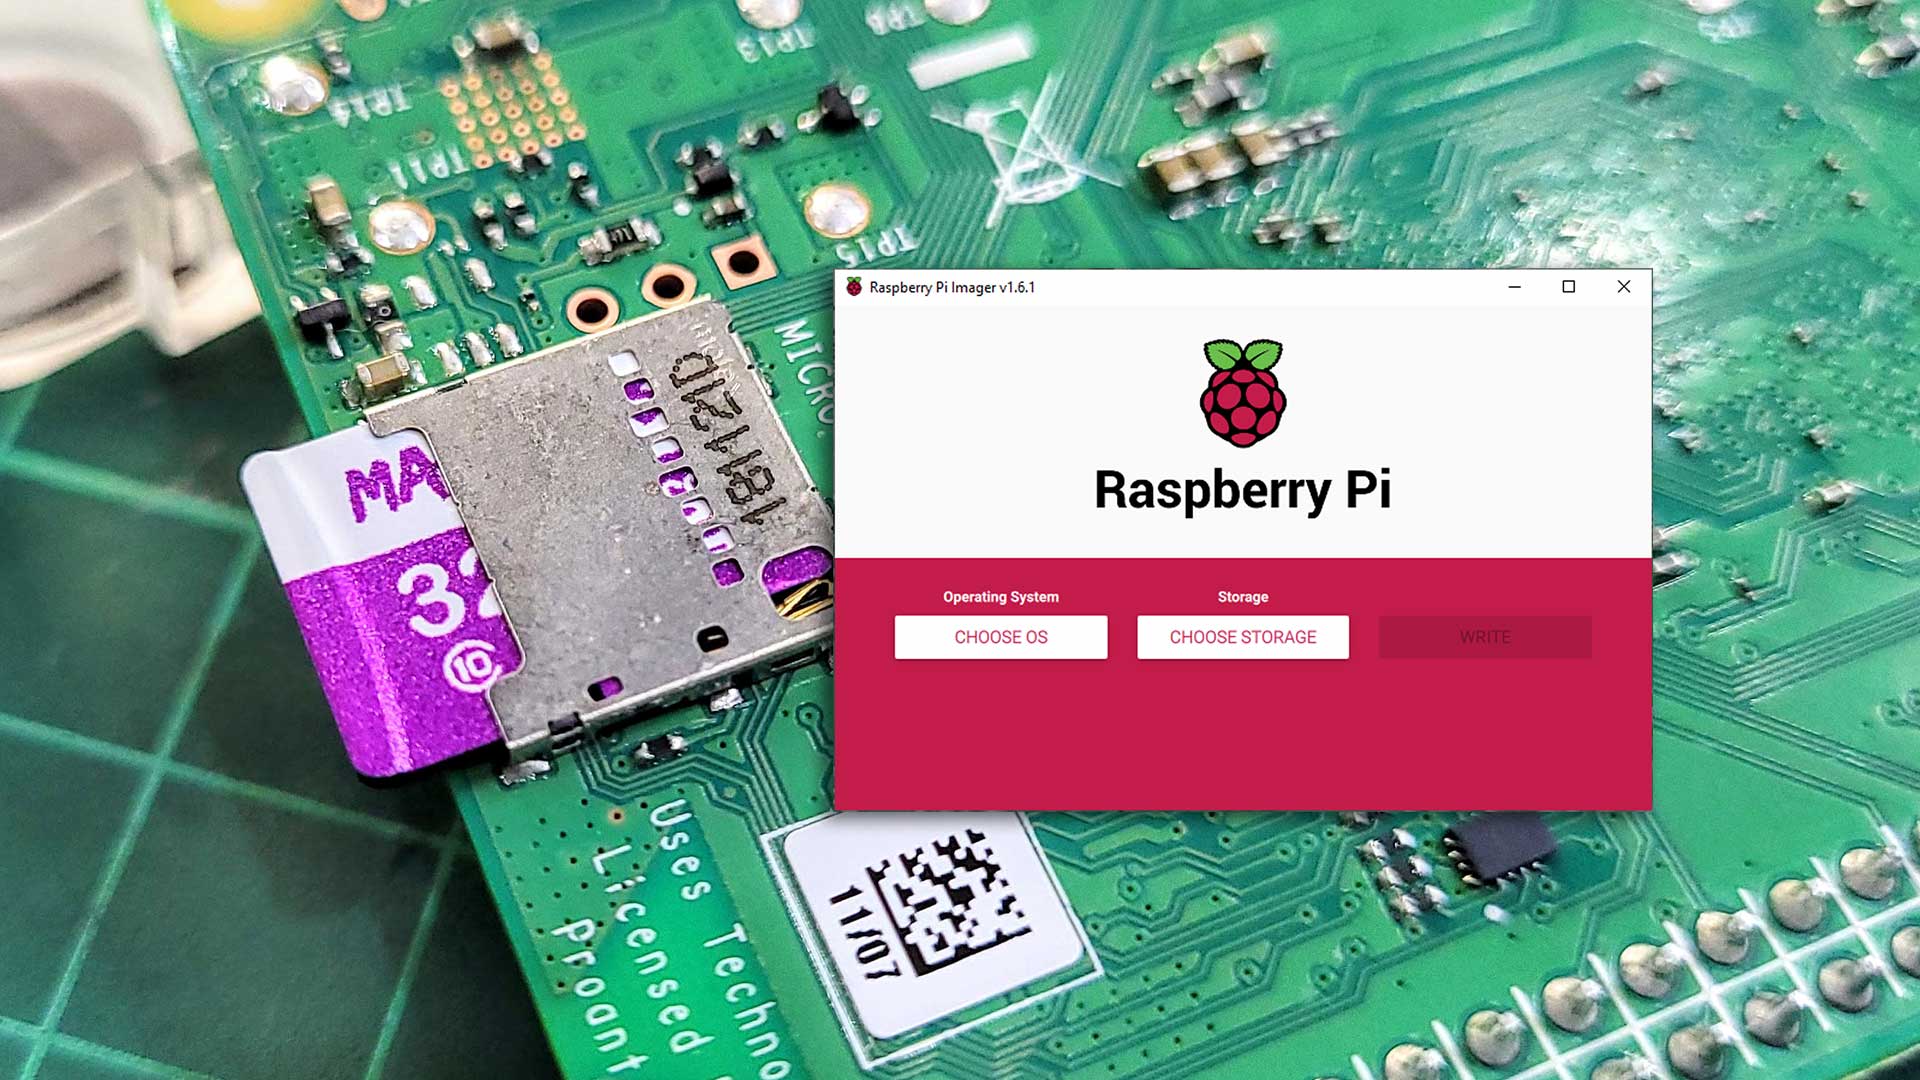
With Raspberry Pi Imager, you can write Raspberry Pi OS and remote SSH

How to SSH Into a Raspberry Pi for Remote Access
