Securely Connect Remote IoT VPC Raspberry Pi For Free: A Comprehensive Guide
Connecting your Raspberry Pi securely to a remote IoT Virtual Private Cloud (VPC) is a critical task for anyone managing IoT devices. This guide will walk you through the process of establishing a secure connection without incurring additional costs. With the rise of IoT devices, ensuring secure and reliable communication between your Raspberry Pi and remote VPC is essential. In this article, we will explore the steps, tools, and best practices to achieve this goal while adhering to principles of security and cost-efficiency.
As the Internet of Things (IoT) continues to expand, the need for secure communication between devices and cloud infrastructure has become paramount. Raspberry Pi, a versatile single-board computer, is widely used in IoT projects due to its affordability and flexibility. However, connecting it to a remote VPC securely can be challenging, especially for beginners. This article will provide you with a step-by-step guide, tools, and strategies to ensure a secure and cost-effective connection.
Whether you're a hobbyist, developer, or business owner, understanding how to securely connect your Raspberry Pi to a remote VPC is crucial. By following the methods outlined in this guide, you can protect your data, maintain the integrity of your IoT ecosystem, and avoid unnecessary expenses. Let’s dive into the details and explore how you can achieve this seamlessly.
Read also:Ncis Los Angeles Deeks Dies What Really Happened
Table of Contents
- Introduction to IoT and VPC
- Why Secure Connections Matter
- Tools and Technologies for Secure Connections
- Step-by-Step Guide to Connecting Raspberry Pi to VPC
- Configuring VPN for Secure Communication
- Using SSH for Secure Access
- Firewall and Network Security Best Practices
- Cost-Effective Solutions for Remote IoT
- Troubleshooting Common Issues
- Conclusion and Next Steps
Introduction to IoT and VPC
The Internet of Things (IoT) refers to a network of interconnected devices that communicate and exchange data over the internet. These devices range from simple sensors to complex industrial machinery. A Virtual Private Cloud (VPC) is a secure, isolated private cloud hosted within a public cloud environment. It allows users to run their applications and store data securely while leveraging the scalability of cloud infrastructure.
IoT devices, such as Raspberry Pi, often require a connection to a VPC to transmit data securely. This connection ensures that sensitive information, such as sensor readings or user data, is protected from unauthorized access. A VPC provides a controlled environment where devices can communicate without exposing them to the broader internet, reducing the risk of cyberattacks.
By integrating IoT devices with a VPC, businesses and individuals can achieve greater control over their data and enhance the security of their IoT ecosystem. This setup is particularly beneficial for applications like smart homes, industrial automation, and remote monitoring systems.
Why Secure Connections Matter
Security is a top priority when connecting IoT devices to a remote VPC. Without proper safeguards, your Raspberry Pi and the data it transmits are vulnerable to cyber threats such as hacking, data breaches, and unauthorized access. A secure connection ensures that only authorized users and devices can access your VPC, protecting your IoT ecosystem from potential risks.
One of the primary reasons secure connections matter is the sensitive nature of IoT data. For example, in healthcare applications, IoT devices may transmit patient information, which must be protected under regulations like HIPAA. Similarly, in industrial settings, IoT devices monitor critical processes, and any breach could lead to significant financial losses or safety hazards.
Implementing secure connections also helps maintain the integrity of your IoT network. By encrypting data and using authentication protocols, you can prevent malicious actors from tampering with your devices or intercepting communications. This level of security is essential for building trust and ensuring the reliability of your IoT infrastructure.
Read also:Did Sam Milby And Catriona Gray Split The Truth Behind The Rumors
Tools and Technologies for Secure Connections
To establish a secure connection between your Raspberry Pi and a remote VPC, you’ll need to leverage various tools and technologies. These include Virtual Private Networks (VPNs), Secure Shell (SSH), firewalls, and encryption protocols. Each of these tools plays a vital role in ensuring the security and reliability of your IoT network.
Virtual Private Networks (VPNs)
A VPN creates a secure tunnel between your Raspberry Pi and the VPC, encrypting all data transmitted between them. This prevents unauthorized users from intercepting or accessing your data. Popular VPN solutions include OpenVPN and WireGuard, both of which are free and open-source.
Secure Shell (SSH)
SSH is a protocol used to securely access and manage remote devices. By enabling SSH on your Raspberry Pi, you can remotely control it and transfer files securely. SSH uses encryption to protect data during transmission, making it an essential tool for IoT security.
Firewalls
A firewall acts as a barrier between your Raspberry Pi and potential threats. It filters incoming and outgoing traffic based on predefined rules, ensuring that only authorized connections are allowed. Tools like UFW (Uncomplicated Firewall) are easy to configure and highly effective.
Encryption Protocols
Encryption protocols like TLS (Transport Layer Security) and AES (Advanced Encryption Standard) are used to secure data during transmission. These protocols ensure that even if data is intercepted, it cannot be read or tampered with by unauthorized users.
Step-by-Step Guide to Connecting Raspberry Pi to VPC
Connecting your Raspberry Pi to a remote VPC involves several steps, from setting up the Raspberry Pi to configuring the VPC. Below is a detailed guide to help you achieve this securely and efficiently.
Step 1: Prepare Your Raspberry Pi
Before connecting your Raspberry Pi to a VPC, ensure that it is properly set up. Install the latest version of Raspberry Pi OS and update all software packages. Enable SSH by running the following command:
sudo raspi-config
Navigate to "Interfacing Options" and enable SSH. This will allow you to remotely access your Raspberry Pi.
Step 2: Set Up the VPC
Create a VPC in your preferred cloud provider, such as AWS, Google Cloud, or Azure. Configure the VPC settings, including subnets, routing tables, and security groups. Ensure that the security group allows inbound and outbound traffic on the necessary ports.
Step 3: Install and Configure a VPN
Install a VPN client on your Raspberry Pi and configure it to connect to the VPC. For example, if you’re using OpenVPN, download the configuration files from your cloud provider and run:
sudo openvpn --config your-config-file.ovpn
This will establish a secure connection between your Raspberry Pi and the VPC.
Step 4: Test the Connection
Once the VPN is configured, test the connection by pinging the VPC’s private IP address from your Raspberry Pi. If the connection is successful, you can proceed to deploy your IoT applications.
Configuring VPN for Secure Communication
A VPN is one of the most effective ways to secure communication between your Raspberry Pi and a remote VPC. By encrypting data and creating a private tunnel, a VPN ensures that your IoT devices remain protected from external threats.
To configure a VPN, start by selecting a reliable VPN solution. OpenVPN is a popular choice due to its robust security features and open-source nature. Once installed, generate the necessary certificates and keys to authenticate your Raspberry Pi with the VPC.
Next, configure the VPN client on your Raspberry Pi using the provided configuration files. Ensure that the connection is persistent by adding the VPN startup script to your Raspberry Pi’s boot sequence. This will ensure that the VPN connection is automatically established whenever the device is powered on.
Using SSH for Secure Access
SSH is another critical tool for securing your Raspberry Pi. By enabling SSH, you can remotely access your device and manage it securely. To enhance security, consider disabling password authentication and using SSH keys instead.
To generate an SSH key pair, run the following command on your local machine:
ssh-keygen -t rsa -b 4096
Copy the public key to your Raspberry Pi using:
ssh-copy-id pi@your-raspberry-pi-ip
Finally, disable password authentication by editing the SSH configuration file:
sudo nano /etc/ssh/sshd_config
Set PasswordAuthentication to no and restart the SSH service:
sudo systemctl restart ssh
Firewall and Network Security Best Practices
A firewall is essential for protecting your Raspberry Pi from unauthorized access. Use UFW to configure a basic firewall on your device. Start by allowing SSH traffic:
sudo ufw allow ssh
Enable the firewall with:
sudo ufw enable
Additionally, consider implementing network segmentation to isolate your IoT devices from other parts of your network. This reduces the attack surface and limits the potential impact of a security breach.
Cost-Effective Solutions for Remote IoT
Managing IoT devices remotely doesn’t have to be expensive. By leveraging free and open-source tools, you can achieve a secure and reliable connection without breaking the bank. For example, OpenVPN and WireGuard are both free solutions that provide robust security features.
Additionally, many cloud providers offer free tiers for their VPC services. AWS Free Tier, for instance, includes 750 hours of VPC usage per month, which is sufficient for small-scale IoT projects. By carefully selecting your tools and services, you can keep costs to a minimum while maintaining high security standards.
Troubleshooting Common Issues
Despite careful planning, you may encounter issues when connecting your Raspberry Pi to a remote VPC. Common problems include connectivity issues, configuration errors, and firewall restrictions. To troubleshoot these issues, start by checking the logs on your Raspberry Pi and VPC.
For example, to view the OpenVPN logs, run:
sudo journalctl -u openvpn
If the issue persists, verify that the firewall rules on both the Raspberry Pi and VPC are correctly configured. You can also test the connection using tools like ping and traceroute.
Conclusion and Next Steps
Securing a connection between your Raspberry Pi and a remote VPC is a critical step in managing IoT devices. By following the steps outlined in this guide, you can achieve a secure and cost-effective solution that meets your needs. From setting up a VPN to configuring SSH and firewalls, each step contributes to the overall security of your IoT ecosystem.
As you continue to develop your IoT projects, consider exploring additional security measures, such as multi-factor authentication and intrusion detection systems. These tools can further enhance the security of your network and protect your data from emerging threats.
We hope this guide has provided you with the knowledge and tools to securely connect your Raspberry Pi to a remote VPC. If you have any questions or need further assistance, feel free to leave a comment below. Share this article with others who may find it helpful, and explore our other resources for more insights into IoT and cybersecurity.
Kelly Siegler Net Worth: A Comprehensive Look At The Renowned Prosecutor's Wealth And Career
Erome 2025: The Future Of Digital Content Creation And Sharing
Sophie Rain Ero Me: A Comprehensive Guide To Understanding Her Impact And Influence
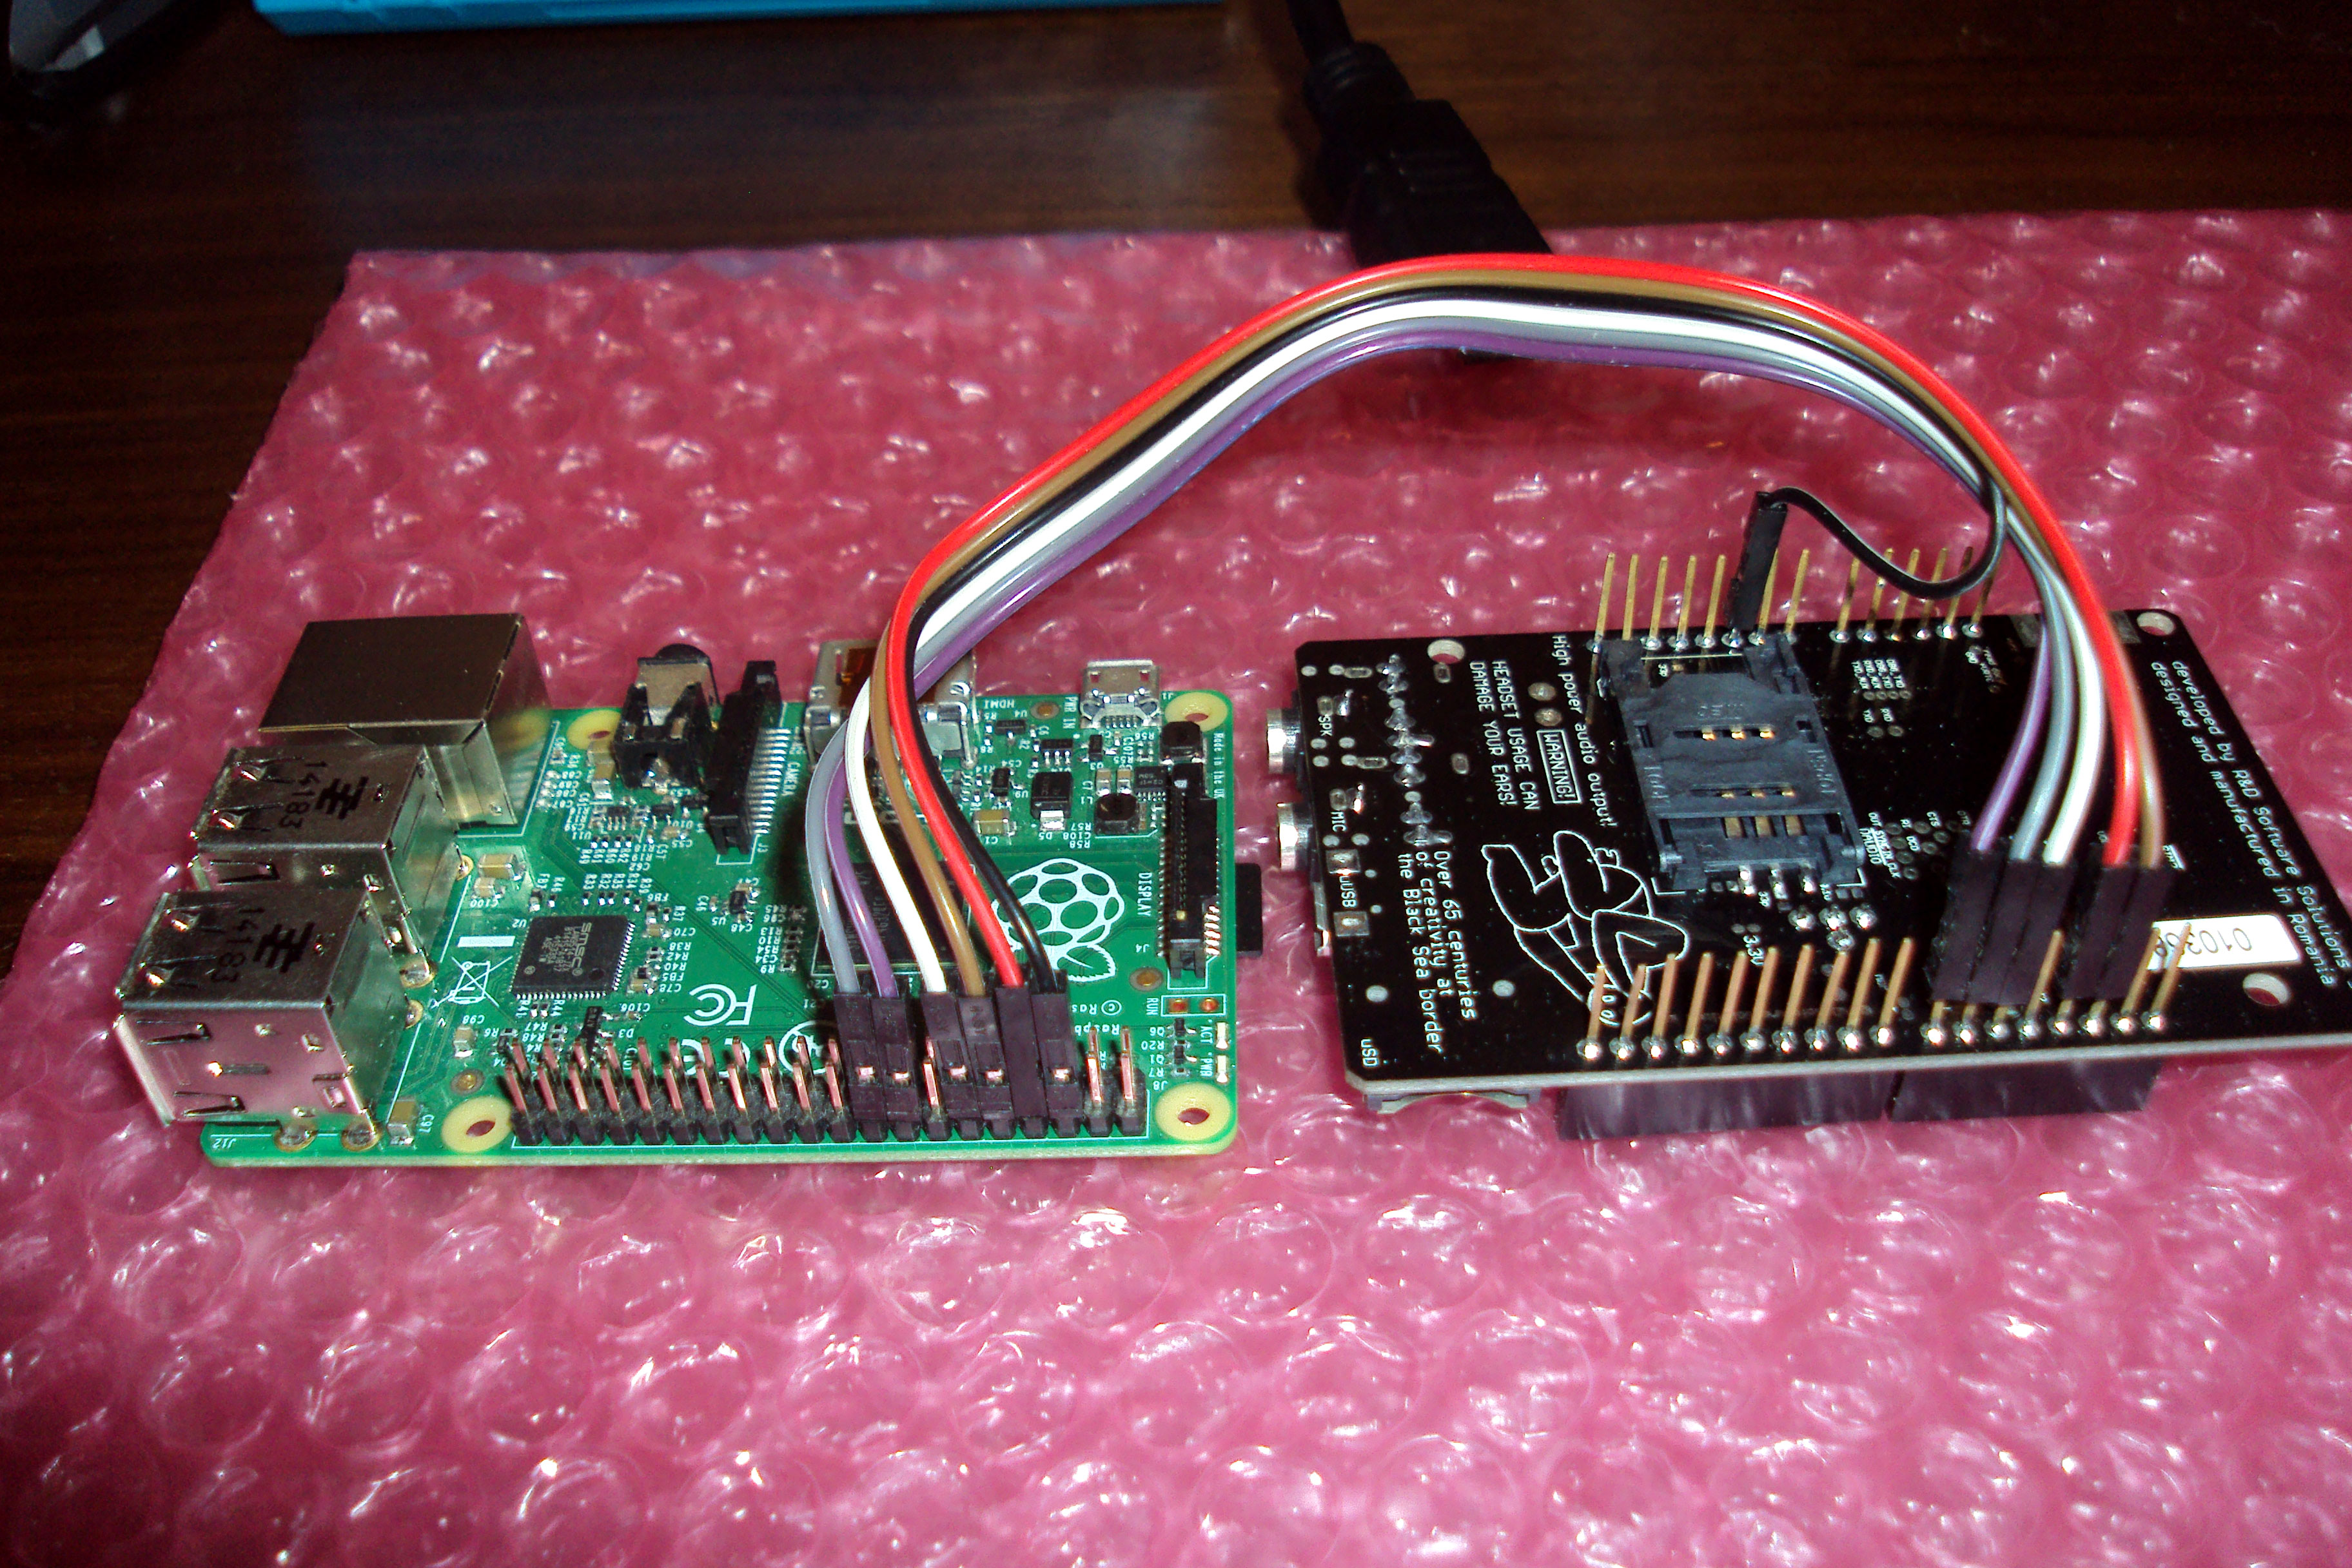
agsm shield projects RaspberryPI and agsm shield SEND SMS LAN
Securely Manage Your WisGate Connect Remotely SSH No Ports
